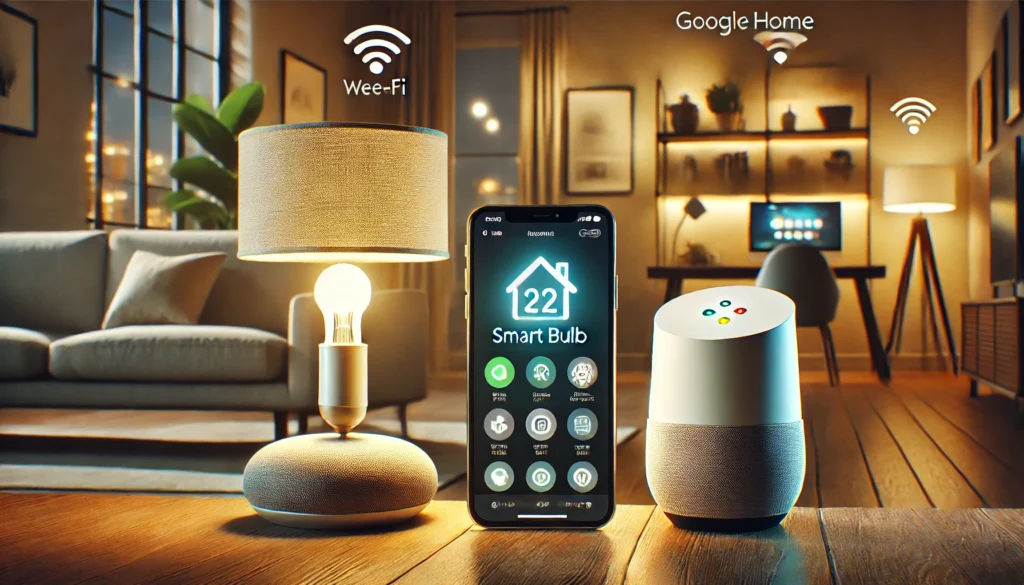
Welcome to the world of smart homes! If you’re new to this, don’t worry. This guide is here to help you set up your Merkury smart bulb with Google Home. Whether you’re a tech novice or a smart home enthusiast, these steps are easy.
Before we dive in, if you’re exploring smart lighting options, you might also be interested in the 3 Best Smart Bulbs for Google Home that combine seamless integration, energy efficiency, and great value.
By the end of this guide, you’ll discover how to control your lights using eco-friendly, durable devices effortlessly managed with a voice command or a tap on your smartphone. Ready to get started? Let’s jump in!

How do you set up Merkury Smart Bulb with Google Home? (Short Answer)
First, download and install the Geeni app on your smartphone. Next, screw in your Merkury smart bulb and turn on the power. Open the Geeni app and follow the instructions to connect your bulb to your Wi-Fi network. Then, open the Google Home app, tap the ‘+’ icon, and select ‘Set up device’. Finally, choose ‘Works with Google’ and link your Geeni account to Google Home.
Understanding Merkury Smart Bulb
What is a Merkury Smart Bulb?
Mercury smart bulbs are Wi-Fi-enabled light bulbs that allow you to control your lighting through an app or voice commands. They offer various features like dimming, color changes, and scheduling, making your home more convenient and energy-efficient.
Why Choose Smart Lighting?
Bright lighting isn’t just a trend; it’s a practical upgrade for any home. These bulbs can save energy, improve security, and add ambiance to any room. Imagine entering your home and having your lights turn on automatically or adjusting brightness with a simple voice command.
The Benefits of Integration with Google Home
Integrating your Merkury smart bulb with Google Home unlocks even more convenience. You can control your lights with voice commands, automate settings, and integrate them with other smart devices in your home.
Getting Started with Your Merkury Smart Bulb
Unboxing and Initial Setup
First, unbox your Merkury smart bulb. Ensure you have everything you need, including the bulb, user manual, and additional accessories. Before you start, ensure your Wi-Fi is working and the Google Home app is installed on your smartphone.
Installing the Merkury Smart Bulb
Screw the Merkury smart bulb into a lamp or light fixture. Turn the power on and wait for the bulb to start flashing. This indicates that the bulb is ready to connect.
Downloading the Geeni App
To control your Merkury smart bulb, you’ll need the Geeni app. Download it from the App Store or Google Play Store. Create an account and follow the on-screen prompts to get started.
Connecting Merkury Smart Bulb to Wi-Fi
Opening the Geeni App
Open the Geeni app and log in to your account. If you’re a first-time user, you’ll need to create one. Follow the prompts to set up your profile.
Adding a New Device
In the Geeni app, tap the “+” icon to add a new device. Select “Lighting” from the list of options. The app will prompt you to ensure your light bulb is flashing, indicating it’s in pairing mode.
Entering Wi-Fi Credentials
Enter your Wi-Fi network name and password. Ensure you’re connected to a 2.4GHz network, as Merkury intelligent bulbs do not support 5GHz networks. The app will then connect the bulb to your Wi-Fi.
Integrating with Google Home
Opening the Google Home App
Now that your Merkury smart bulb is connected to Wi-Fi, it’s time to integrate it with Google Home. Open the Google Home app on your smartphone.
Linking Geeni Account to Google Home
Tap the “+” icon in the Google Home app to add a new device. Select “Set up device” and “Have something already set up?”. Search for “Geeni” and log in with your Geeni account credentials.
Syncing Devices
Once logged in, Google Home will automatically detect your Merkury smart bulb. Follow the prompts to complete the setup. You can now assign the bulb to a specific room and give it a name for easy voice control.
Voice Commands and Automation
Basic Voice Commands
You can use basic voice commands with your Merkury smart bulb connected to Google Home. Say, “Hey, Google, turn on the living room light,” or “Hey, Google, dim the bedroom light to 50%.”
Creating Routines
Google Home allows you to create routines for even more convenience. For example, you can set a routine to turn off all lights when you say “Good night” or turn them on at a specific time each morning.
Exploring Advanced Features
Explore advanced features to learn more about Google Home’s capabilities. You can adjust color temperatures, create custom scenes, and integrate your lights with other smart devices like cameras and thermostats.
Troubleshooting Common Issues
Connection Problems
If you’re having trouble connecting your Merkury smart bulb to Wi-Fi, use a 2.4GHz network. Reset the bulb by turning it off and on three times until it starts flashing.
Voice Command Issues
If Google Assistant isn’t responding to your commands, check that the bulb is online and linked correctly in the Google Home app. Ensure your microphone is enabled, and try restarting your Google Home device.
App-Related Problems
Ensure both apps are up-to-date for issues related to the Geeni or Google Home app. Restart your smartphone and try re-adding the device.
Maximizing Your Smart Lighting Experience
Energy Efficiency
Take advantage of scheduling features to turn off unnecessary lights, reducing energy consumption. Bright lighting can also extend the life of your bulbs by using only the necessary brightness levels.
Enhancing Home Security
Use your Merkury smart bulb to enhance home security. Set your lights to turn on and off at random intervals while you’re away to give the appearance that someone is home.
Customizing Light Settings
Get creative with your lighting. Experiment with different colors and brightness levels to set the perfect mood for any occasion, from a cozy movie night to a lively dinner party.
Conclusion:
Setting up your Merkury smart bulb with Google Home is easy. Begin by unboxing the bulb and installing it in a fixture. Next, download the Geeni app and connect the bulb to your Wi-Fi network. Then, open the Google Home app and link your Geeni account. Finally, follow the prompts to sync the bulb with Google Home for seamless voice control. Enjoy the benefits of bright lighting in your home with simple and convenient setup steps.
Related Product Reviews:
- 3 Best Smart Bulbs for Google Home
- 10 Best Kitchen Gadgets for Home Cooks
- 10 Best Gadgets for the Office
- 10 Best Wooden Cooking Utensils
- 10+ Coolest Kitchen Gadgets
- Top 10+ Satisfying Bed Gadgets
- Top 10+ Security Gadgets for the Home
- Top 10+ Cool Gadgets for Gaming Room
- 10+ Best Satisfying Bedroom Gadgets
- 5 Best Smart Switches for Home Assistant
- 3 Best Wifi Smart Locks for Home
FAQs
To set up your Merkury smart bulb with Google Home, you will need the following: the Merkury smart bulb, a Wi-Fi connection (2.4GHz), a smartphone with the Geeni app and Google Home app installed, and a Google Home device or any device with Google Assistant.
To restart your Merkury smart bulb, turn it off and then on three times. The bulb will start flashing to indicate that it is in pairing mode and ready to be connected again to your Wi-Fi network.
If your bulb is not connecting to Wi-Fi, use a 2.4GHz network, as the bulbs do not support 5GHz networks. Also, check your Wi-Fi credentials and reset the bulb by turning it off thrice until it flashes.
After connecting your Merkury smart bulb to Google Home, you can control it with voice commands through Google Assistant. For example, say, “Hey Google, turn on the bedroom light” or “Hey Google, set the living room light to 70% brightness.”
Yes, you can set schedules through the Google Home app. Create routines to turn your lights on or off at specific times, which can help you conserve energy and enhance home security by making it look like someone is home.