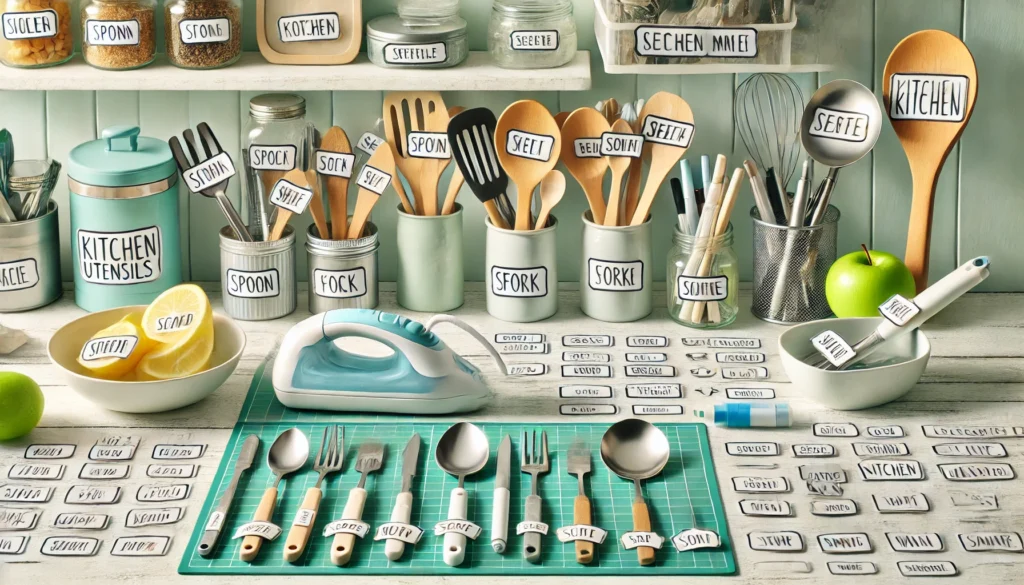
Kitchen organization can significantly improve the efficiency and joy of cooking. Knowing where to find each utensil saves time and reduces stress, especially when preparing meals under a time crunch. Along with proper labeling, using high-quality tools like those listed in our 10 Best recommended wooden utensils for cooking can further enhance your kitchen setup. Learning how to label kitchen utensils is one of the most effective ways to maintain an organized kitchen. This guide will walk you through labeling techniques to make your cooking experience smoother.

How to Label Kitchen Utensils? (Short Answer)
- Gather Supplies:
You’ll need labels, a pen or marker, and clear tape.
- Clean Utensils:
Make sure each utensil is clean and dry before labeling.
- Write Labels:
Clearly write the name of each utensil on the label.
- Attach Labels:
Place the label on the utensil and cover it with clear tape to protect it.
- Organize:
Put the labeled utensils back in designated spots for easy access.
Why Label Kitchen Utensils?
Before diving into the how-to, it’s essential to understand why labeling kitchen utensils is beneficial:
- Efficiency:
Quickly locate the utensil you need without rummaging through drawers.
- Cleanliness:
Helps ensure that each utensil is used for its intended purpose, maintaining hygiene.
- Aesthetic:
A neatly labeled kitchen looks organized and inviting.
- Accessibility:
It is easier for family members or guests to help in the kitchen without constant guidance.
Step-by-Step Guide to Labeling Kitchen Utensils
Step 1: Inventory Your Utensils
Start by taking stock of all your kitchen utensils. This includes everything from spoons and forks to specialized tools like zesters and melon ballers. Lay them out on a clean surface and group similar items together.
Step 2: Choose Your Labeling Method
There are several ways to label kitchen utensils, each with pros and cons. Here are a few options:
- Label Maker:
Ideal for a professional look. Creates uniform and easy-to-read labels.
- Chalkboard Labels:
Reusable and customizable. Perfect for items that may change locations.
- Permanent Marker:
Simple and effective, but less aesthetically pleasing.
- Engraving:
Permanent and elegant but requires special equipment and is more time-consuming.
Step 3: Select the Label Location
Consider where to place the label for maximum visibility and ease of use. Common options include:
- Handles:
Best for utensils stored in jars or canisters.
- Blades/Functional Ends:
Ideal for flatware and smaller tools, but ensure it doesn’t affect usability.
- Drawer Organizers:
Label the compartments within your utensil drawer.
Step 4: Create Your Labels
If you’re using a label maker, type out the names of each utensil and print them. For chalkboard labels, write the names clearly with chalk or a chalk marker. If you opt for permanent markers or engraving, write legibly and consistently.
Step 5: Apply the Labels
Carefully attach or write the labels on each utensil. Ensure they are secure and will take time to come off with use. For adhesive labels, press down firmly and smooth out any bubbles.
Step 6: Organize Your Utensils
Once labeled, arrange your utensils in their designated storage spaces. Group similar items together and place frequently used tools in easily accessible spots. For drawer organizers, ensure each utensil is in its labeled compartment.
Tips for Effective Labeling
- Consistency:
Use the same style and size of labels for a uniform look.
- Visibility:
Ensure labels are easy to read and not hidden when storing utensils.
- Durability:
Opt for waterproof and heat-resistant labels to withstand kitchen conditions.
- Flexibility:
Consider using removable labels for utensils that may change storage locations.
Maintaining Your Labeled Kitchen
Labeling your kitchen utensils is a task that takes time to complete. Regular maintenance ensures your kitchen stays organized:
- Regular Checkups:
Review your labeled utensils to ensure labels are intact and legible.
- Updates:
Add labels to new utensils and remove labels from items no longer in use.
- Cleaning:
Wipe down labeled utensils regularly to keep them clean and hygienic.
Conclusion:
Labeling kitchen utensils is a simple yet impactful way to enhance your cooking experience. By following the steps outlined in this guide, you can design a well-ordered, productive, and visually appealing kitchen. Whether a home cook or a kitchen enthusiast, a well-labeled kitchen helps streamline meal preparation and makes cooking more enjoyable.
Take the time to inventory your utensils, choose the best labeling method, and apply your labels carefully. With regular maintenance, your labeled kitchen will remain a model of organization and efficiency.
Related Product Reviews:
- 10 Best Premium Wooden kitchen Utensil Sets
- 10 Best kitchen Gadgets Every Home Cook Needs
- 10+ Interesting Kitchen Gadgets for Home Chefs
FAQs
You can use various tools to label your kitchen utensils, such as a label maker, permanent markers, or adhesive labels. Some people prefer chalkboard labels because they are reusable and readily customized.
The best place to put labels depends on how you store your utensils. For utensils kept in jars, labels on handles work well. Labeling the drawer organizers or compartments for items in drawers can be very effective.
To ensure the labels stay on your utensils, clean and dry each before applying the label. If using adhesive labels, press down firmly and smooth out any bubbles. Covering the label with clear tape can also help protect it from wear and tear.
Yes, you can label your utensils without a label maker. You can use permanent markers to write directly on the utensils or adhesive labels and a pen. Chalkboard labels or even masking tape can also work as a temporary solution.
It’s a good idea to check your labels every few months to ensure they are still legible and in place. You may need to replace labels that have worn out or come off up-to-date labels if you get new utensils or change your storage arrangement.
Use oven-safe labels or markers to identify items. Ensure labels are non-toxic and won’t melt. Place labels on the cookware, not directly on food.
The correct way to label food is to include the name of the item and the date it was made or stored. Use waterproof and food-safe markers or labels. Ensure the label is easy to read and securely attached.
To properly label a product, include the product name, a brief description, and the manufacturing or expiration date. Use clear, legible text and ensure the label is securely attached. Make sure the label complies with any legal requirements.