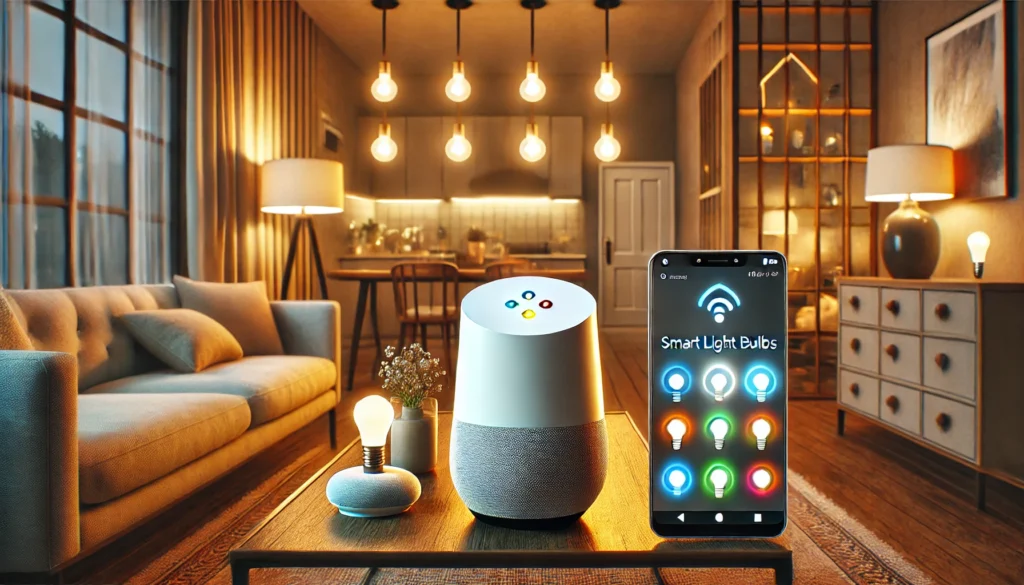
Imagine entering your home and having your living room lights automatically adjust to the perfect brightness. Or commanding your bedroom lights to turn off without even lifting a finger. This is the magic of intelligent lighting, and with Google Home, it’s easier than you might think.
In this guide, we’ll show you how to set up smart light bulbs with Google Home, ensuring your home is as intelligent and efficient as possible. To get the most out of your setup, we’ll also highlight the 3 Best Smart Bulbs for Google Home that pair seamlessly and offer reliable performance.
Whether you’re a seasoned tech enthusiast or just starting your smart home journey, this article will provide the steps and tips you need to succeed in mastering how to set up smart light bulbs with Google Home.

Setting Up Smart Light Bulbs with Google Home? (Short Answer)
First, install the smart light bulbs and turn them on. Open the Google Home app on your phone. Tap the ‘+’ icon to add a device, then select ‘Set up device.’ Follow the on-screen instructions to connect your bulbs to Google Home. Once connected, you can control your lights using voice commands or the app.
What You Need to Get Started
Before you begin, make sure you have all the essentials:
- Smart Light Bulbs:
Choose from brands like Philips Hue, LIFX, or TP-Link.
- Google Home Device:
Any Google Nest or Google Home speaker.
- Google Home App:
This app is available on both iOS and Android.
- Wi-Fi Network:
A stable connection is crucial for seamless integration.
Having these items ready will ensure a smoother setup process. Make sure your intelligent bulbs are compatible with Google Home. Most major brands will work, but it’s always good to double-check.
Setting Up Your Google Home Device
If you still need to set up your Google Home device, that’s the first step. Plug in your Google Home device, open the Google Home app, and follow the on-screen instructions to connect it to your Wi-Fi network. Ensure your device is placed in a central location for better voice command reception.
Once connected, test your Google Home by asking it a simple question. If it responds correctly, you’re ready to proceed. This initial setup ensures your Google Home device is functioning correctly and ready to control other smart devices.
Installing Your Smart Light Bulbs
Next, install your smart light bulbs in the desired locations around your home. Screw them into existing light sockets just like traditional bulbs. Once installed, turn the light switch on to ensure they have power.
Some smart bulbs come with a dedicated app for initial setup. Follow the manufacturer’s instructions to connect each bulb to your Wi-Fi network. Ensure each bulb works correctly through the app before moving on to the next step.
Connecting Smart Bulbs to Google Home
With your Google Home device and smart bulbs ready, it’s time to connect them. Open the Google Home app and tap the “+” icon to add a new device. Select “Set up device,” then “Have something already set up?” This will guide you through linking your innovative bulb brand’s account to Google Home.
Follow the prompts to sign in to your smart bulb account through the Google Home app. Once linked, your intelligent bulbs should appear in the app and be ready for voice commands and automation.
Naming Your Smart Bulbs
To simplify controlling your lights, give each smart bulb a unique name in the Google Home app. For example, name your living room bulb “Living Room Light” and your bedroom bulb “Bedroom Light.” This helps Google Home identify which bulb you want to control.
You can name or rename the bulbs by selecting the device in the app, tapping the settings icon, and entering the desired name. Consistent and descriptive names will enhance your experience.
Setting Up Rooms and Groups
Grouping your smart bulbs by room can simplify control. Create rooms in the Google Home app and add the corresponding bulbs to each room. This lets you control multiple bulbs with a single command, like “Hey, Google, turn off the living room lights.”
To set up rooms, go to the “Rooms” section in the app, select or create a new room, and assign the appropriate bulbs. Grouping devices by room makes voice commands more intuitive and supports more complex automation.
Creating Routines and Automation
Google Home routines allow you to automate your smart lights based on specific triggers. For instance, create a “Good Morning” routine that turns on your kitchen lights at 7 AM. In the Google Home app, go to “Routines” and follow the instructions to set up eco-friendly and durable settings.
Automation can also be set based on location, time of day, or other smart home activities. Experiment with different routines to find what works best for your lifestyle. This feature adds a layer of convenience and personalization to your smart home setup.
Voice Commands for Controlling Lights
Now that your intelligent bulbs are connected, try out some basic voice commands:
- “Hey Google, turn on the bedroom light.”
- “Hey, Google, dim the living room light to 50%.”
- “Hey, Google, turn off all the lights.”
Voice commands can be customized based on the names and groups you’ve set up. Test different phrases to see how Google Home responds and adjust as needed for optimal performance.
Troubleshooting Common Issues
Sometimes, things work better on the first try. If your eco-friendly lights aren’t responding, ensure they’re on the same Wi-Fi network as your durable Google Home device. Restart your router, Google Home device, and intelligent bulbs if needed.
Check for software updates in the Google Home and the smart bulb’s dedicated apps. Keeping everything up to date can resolve many common issues. If problems persist, consult the support sections of the respective apps or contact customer service for further assistance.
Maintaining Your Smart Lighting System
Perform regular maintenance to keep your innovative lighting system running smoothly. Check for app and firmware updates for your bulbs. Periodically test your voice commands and routines to ensure they work as expected.
Consider expanding your system with additional smart bulbs or integrating other smart home devices. Regular maintenance and updates will ensure your intelligent lighting setup’s longevity and optimal performance.
Benefits of Smart Lighting with Google Home
Integrating bright lighting with Google Home offers numerous benefits:
- Convenience:
Control your lights from anywhere using your voice or the app.
- Energy Efficiency:
Automate lights to save energy and reduce utility bills.
- Customization:
Tailor lighting to your preferences with routines and automations.
These long-lasting lighting options are crafted with eco-friendly materials, making them ideal for boosting their home’s functionality and sustainability. Combining intelligent bulbs and Google Home creates a seamless and enjoyable user experience.
Safety and Security Considerations
Bright lighting can also enhance safety and security. Schedule lights to turn on and off while you’re away to make it appear like someone is home. Integrate your bright lights with security cameras and sensors for added peace of mind.
Ensure your Wi-Fi network is secure with a strong password to protect your smart home devices from unauthorized access. Regularly update your passwords and review your security settings to maintain a safe, smart home environment.
Conclusion:
Setting up intelligent light bulbs with Google Home is a simple process that enhances your home automation. Start by installing the bulbs and connecting them to your Wi-Fi. Use the Google Home app to link and name each bulb for easy control. Create rooms, groups, and routines to personalize your lighting experience. With accessible voice commands, controlling your lights becomes convenient and efficient. For a detailed guide on how to set up smart light bulbs with Google Home, follow the steps outlined in this article. Enjoy the benefits and added convenience of bright lighting in your daily life.
Related Product Reviews:
- 3 Best Smart Bulbs for Google Home
- 10 Best Kitchen Gadgets for Home Cooks
- 10 Best Gadgets for the Office
- 10 Best Wooden Cooking Utensils
- 10+ Coolest Kitchen Gadgets
- Top 10+ Satisfying Bed Gadgets
- Top 10+ Security Gadgets for the Home
- Top 10+ Cool Gadgets for Gaming Room
- 10+ Best Satisfying Bedroom Gadgets
- 5 Best Smart Switches for Home Assistant
- 3 Best Wifi Smart Locks for Home
FAQs
FAQs
Download the Google Home app from the App Store or Google Play to start the setup process on your smartphone or tablet. Follow the app’s instructions to create an account or log in if you already have one.
Open the Google Home app and tap the “+” icon to add a new device. Choose the option to set up a new device in your home. Follow the prompts to link your intelligent bulb brand’s account to Google Home and complete the setup.
Yes, you can name your intelligent bulbs in the Google Home app. Select the bulb, tap the settings icon, and enter a name that makes it easy to identify, like “Living Room Light” or “Bedroom Light.”
You can group your intelligent bulbs by room in the Google Home app. Create rooms and assign your bulbs to each room. This lets you control multiple bulbs with a single command, such as “Hey Google, turn off the kitchen lights.”
If your intelligent bulbs are not responding, ensure they are connected to the same Wi-Fi network as your Google Home device. Restart your router, Google Home device, and smart bulbs. Also, check for any software updates in the Google Home and the intelligent bulb’sbulb apps. If the issue persists, consult the support sections of the respective apps or contact customer service for further assistance.